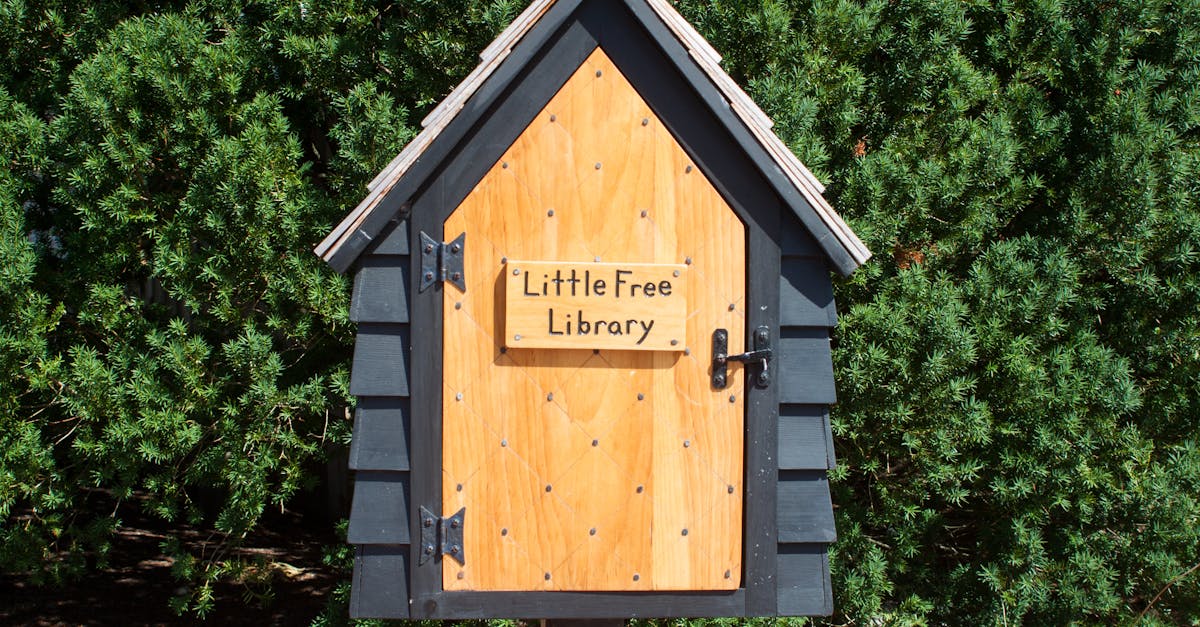
A mailbox isn’t just a box on a post; it’s the unsung hero of curb appeal! It’s the first thing visitors see, and let’s face it, nobody wants to be greeted by a sad, splintering post that looks like it’s been through a storm or two. Why not give your mailbox the makeover it deserves? With a sprinkle of creativity and a dash of DIY spirit, transforming that tired old post into a stunning focal point can be easier than finding your neighbor’s cat lounging on your porch.
Table of Contents
ToggleCreative DIY Mailbox Post Ideas
Transforming a mailbox post into a centerpiece enhances curb appeal. Utilize wood, metal, or PVC for unique designs. Consider a rustic wooden post, which offers a charming, natural look.
Incorporate decorative elements, such as plants or flowers, around the base to create a lush appearance. Use paint or stain to add color that complements the home’s exterior.
Install a multi-functional post that includes a small planter box for seasonal blooms. Craft a themed post tied to seasonal decorations, ensuring it stays relevant throughout the year.
Paint a classic mailbox in bold colors and patterns to stand out, catching the attention of passersby. Implement creative silhouettes that echo the homeowner’s personality, like adding initials or family symbols.
For added interest, use reclaimed materials, such as old door knobs or gates, to fashion a unique post. Design a whimsical post inspired by hobbies or interests, like a fishing-themed mailbox featuring a fish-shaped base.
Incorporate solar-powered lights into the design for visibility at night, enhancing safety. Use stencils to apply house numbers creatively, making them more identifiable while adding flair.
Ensure the mailbox post remains sturdy and functional while keeping aesthetics in mind. Find inspiration in community resources, like DIY blogs or neighborhood crafting groups, for more ideas.
Materials You Will Need
Gathering the right materials ensures a successful mailbox post project. Consider the following options for different styles and preferences.
Wood Options
Cedar and redwood offer excellent durability. They resist decay and provide a natural, rustic look. Pressure-treated pine serves as a budget-friendly option, requiring sealing to prolong its lifespan. For a unique aesthetic, reclaimed wood presents character and charm, enhancing the overall design. Softwood choices like fir or spruce can also work well, especially when painted or stained. Each wood type adds its own charm and texture, allowing for personalized creativity.
Metal Options
Aluminum and galvanized steel provide longevity and strength, making them ideal for mailbox posts. Both resist corrosion and are suitable for various climates. Black wrought iron presents an elegant touch, often incorporating decorative designs. Stainless steel, known for its modern feel, boasts resistance to rust, making it a low-maintenance choice. Choosing the right metal depends on the desired style and environmental conditions, ensuring lasting appeal.
Additional Supplies
Concrete anchors enhance stability, ensuring the post remains secure. Paint or stain adds color and protection, elevating the mailbox’s appearance. Galvanized screws provide durable fastening options for wood and metal materials. A post hole digger or auger aids in creating a proper foundation for the mailbox post. Decorative elements such as planters or lighting enhance visual appeal, transforming an ordinary post into a decorative feature.
Step-by-Step Guide
This section provides detailed instructions for creating a DIY mailbox post project. Following these steps offers clarity and helps ensure a successful outcome.
Planning Your Design
Select a design that complements the home’s overall aesthetics. Determine the style of the mailbox post, whether it’s rustic, modern, or themed. Sketch ideas for visual reference. Measure the space where the mailbox will stand to ensure the design fits appropriately. Consider the mailbox size and the materials to use. Wood, metal, or PVC can provide different visual effects. Review inspiration from local neighborhoods or DIY platforms. Finalize the design concept before moving on to the next steps.
Building the Post
Gather necessary materials such as wood or metal for construction. Cut the chosen material to desired lengths for the post, ensuring it’s tall enough for visibility. Create a sturdy base by selecting robust anchors like concrete or treated wood. Secure the post vertically in the chosen location, ensuring it’s level. Fill the base with fast-drying concrete to provide stability. Allow ample time for the base to dry and set before attaching the mailbox. Confirm that the mailbox aligns with local postal regulations for height and visibility.
Adding Personal Touches
Incorporate decorative elements to enhance the mailbox’s appearance. Paint the post with a color that fits the home’s exterior. Add flowers or plants around the base for a vibrant look. Consider using themed decorations that showcase personal interests, such as sports or hobbies. Install house numbers on the post for practicality and style. Use weather-resistant materials to ensure longevity in outdoor conditions. Employ creativity to transform the mailbox post into a unique focal point that reflects personal style.
Maintenance Tips for Your Mailbox Post
Regular maintenance keeps mailbox posts looking great and functioning properly. Inspecting the mailbox post every few months for signs of wear helps identify any issues early on. Painting or staining the post every 1 to 3 years prevents weather damage and maintains its appearance. If rust appears on a metal post, removing it with a wire brush and applying rust-resistant paint protects the material.
Cleaning the mailbox and post prevents the buildup of dirt and debris. Using soap and water with a soft cloth effectively removes grime without damaging the finish. Additionally, clearing away weeds or overgrown plants around the mailbox enhances visibility and curb appeal.
Checking for structural integrity proves crucial. If the post feels loose, inspecting the anchoring system may reveal the need for concrete reinforcement. Replacing any broken or damaged parts promptly helps ensure the mailbox remains functional.
Consider adding a protective sealant to wooden posts. This guard against moisture can prolong the life of the wood and prevent rotting. Adding support brackets or cross braces will enhance stability in areas with strong winds.
Seasonally, refreshing landscaping around the mailbox can enhance its overall appearance. Incorporating colorful flowers or mulch creates a welcoming environment. Avoiding tall plants ensures visibility and easy access to the mailbox.
Involving children or family members in maintenance tasks fosters a sense of pride and responsibility. Establishing a schedule for upkeep makes maintenance feel manageable, while enhancing the home’s curb appeal.
Transforming a mailbox post is more than just a project; it’s an opportunity to express personal style and enhance home aesthetics. With the right materials and a bit of creativity, anyone can create a unique and inviting focal point.
Regular maintenance ensures that the mailbox remains both functional and visually appealing. By incorporating seasonal updates and personal touches, the mailbox can reflect changing styles and tastes over time.
Embracing DIY mailbox post ideas not only boosts curb appeal but also adds a sense of pride in homeownership. With these insights, anyone can embark on their mailbox transformation journey with confidence.


